|
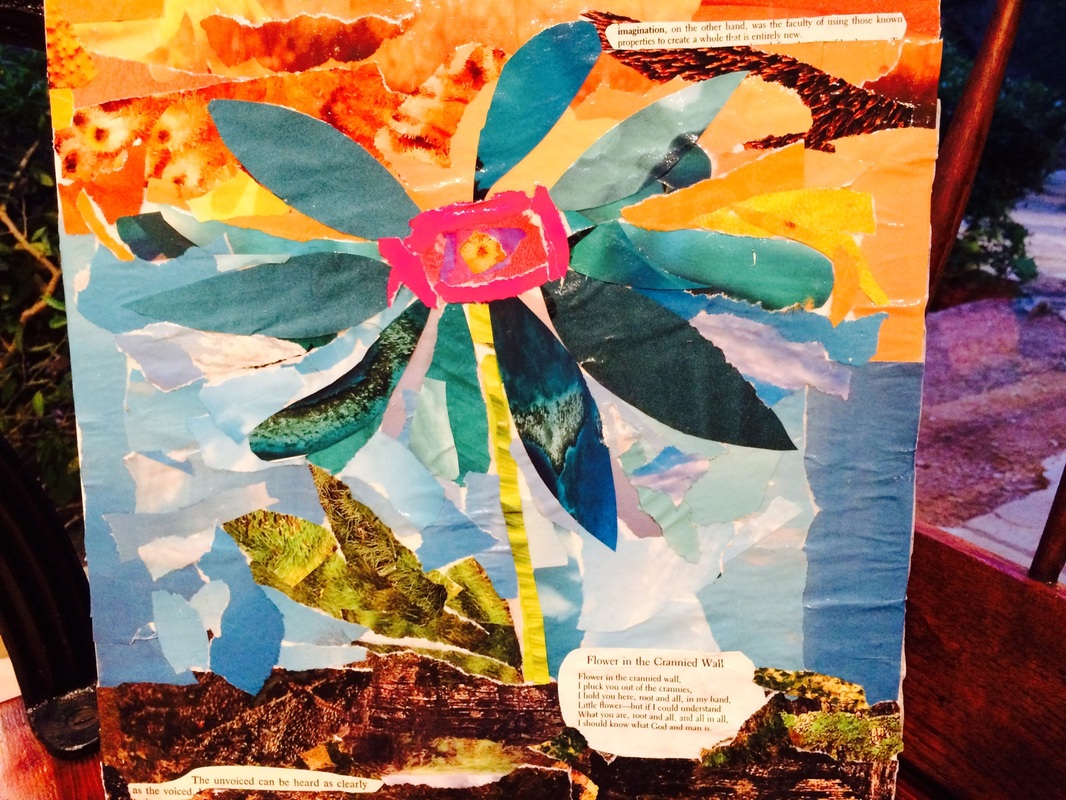
PAINTING WITH PAPER

PLAYING FULL ON.
The creative process is a connection with our Creator. Watching the connection unfold is a gift. Through training in Spiritual Direction I hope to be more sensitive to the process in each individual. My life journey has taken me from an Interior Design professional, to what I identify as divine designing from the inside out. Our environment as well as our internal life can aptly reflect the creativity of the Creator God. The concept of allowing creativity through craft is not a new concept but a springboard from which to share the process. |
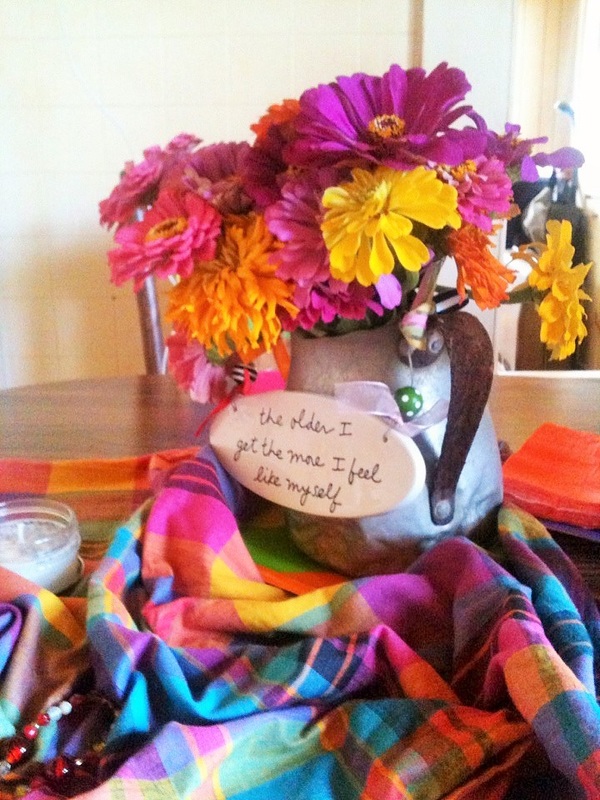
Interior Design to Divine Designs, an outlet for wearable art, beads n bottlecaps morphed from the use of wire and beads. Bottle caps were picked up off the street and parking lots and being woven into wire crosses and objects of embellishment for jewelry. Collecting bottle caps is a hobby, finding the smashed, bent, deteriorating or purposely run over to flatten. Even though I'm currently working in paper, I still collect bottle caps for embellishment and for future creations.
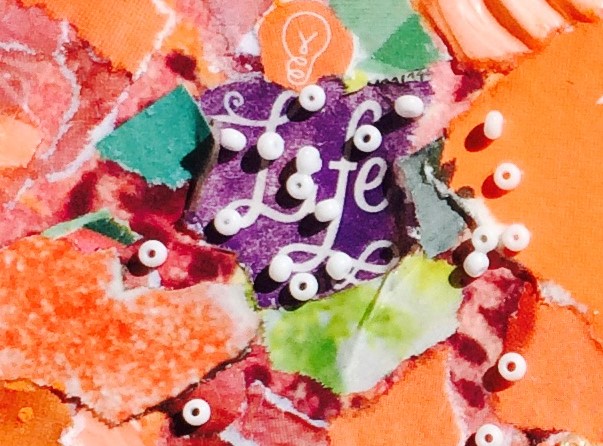
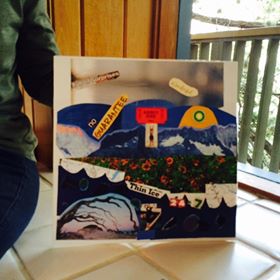
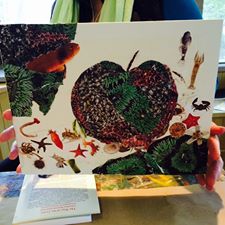
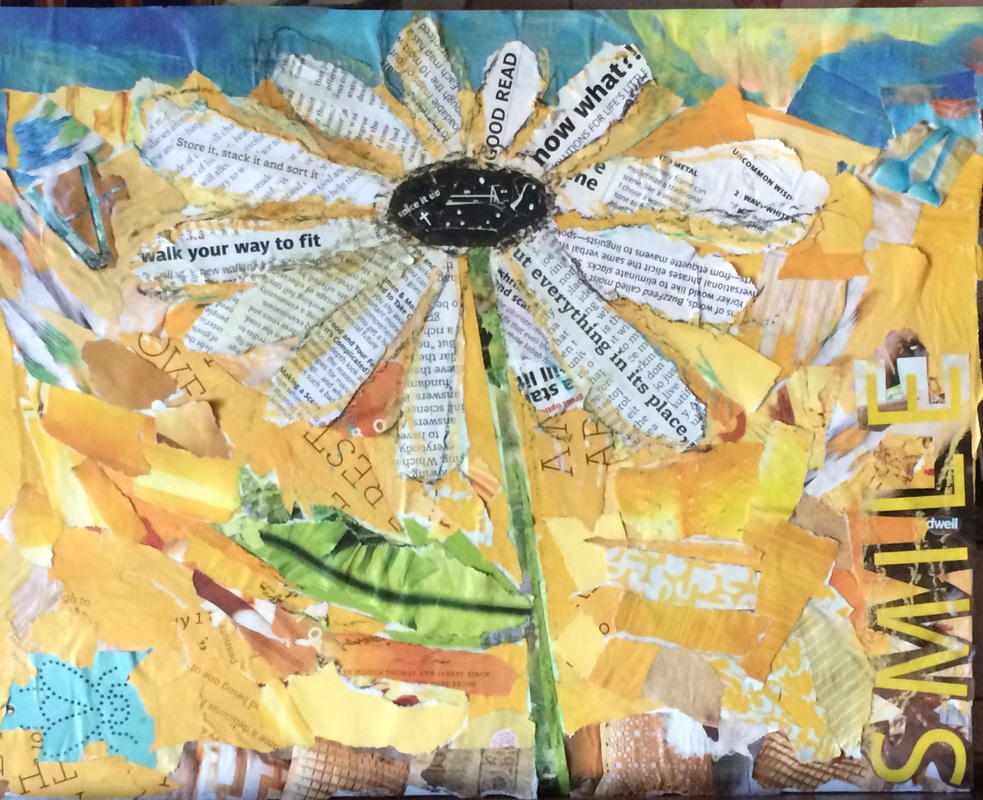
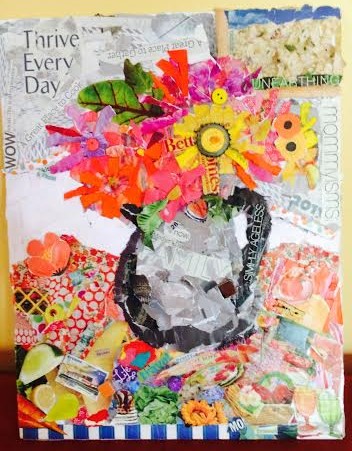
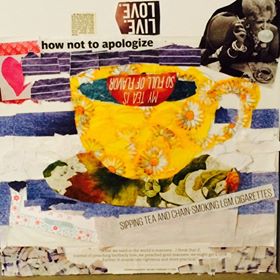
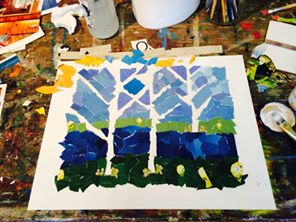
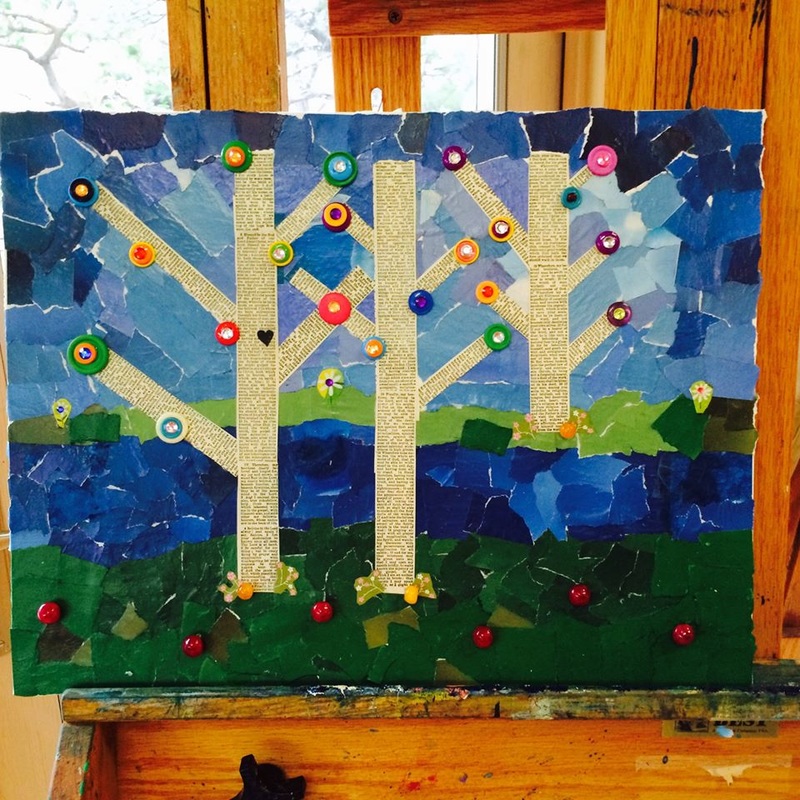
Mixed media has always been a part of my art: quilting, patching, piecing, fitting ...to upcycling, recycling, and using discards for beauty. Painting with scraps of paper, embellishing as the piece evolves has stimulated my senses. The possibilities of interpretation are endless. Reflecting on the result can result in a multitude of ah-ha moments where there flashes a glimpse of the Divine. It's a crazy new season of color and chaos!!!. |
|
|
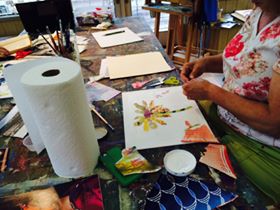
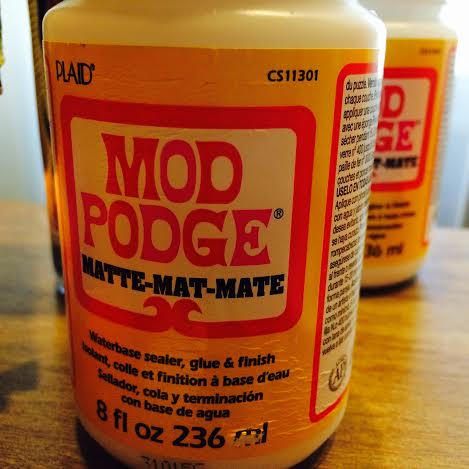
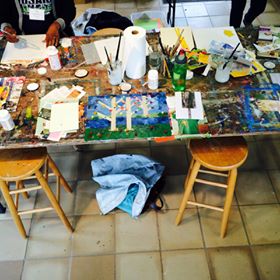
PAPER PAINTING: THE PROCESS Materials: canvas board or heavy paper, stretched canvas, cardboard, wood block; magazines, Mod Podge or glue, a few cheap brushes in different sizes, scissor (or ruler to tear pieces straight lines) and nimble fingers. Also a small container for Mod Podge (paintable glue), a cup of clean water, paper towel. (wet wipes come in handy as well) Preparation: Breathe deeply, settle your mind. There are no grades, only process to connect your heart and soul with The Creator. Be child- like. Don't think too much; Go with your gut. Make a big mess. This medium is very forgiving. If you don't like it, paste over it. |

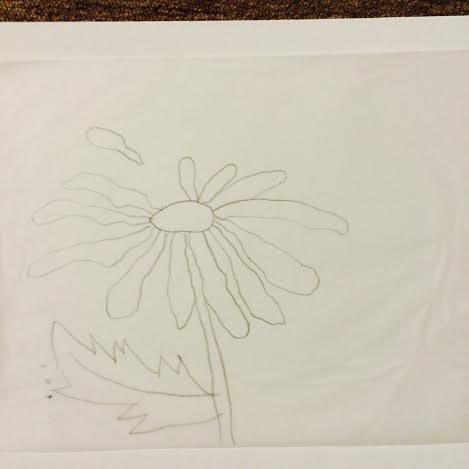
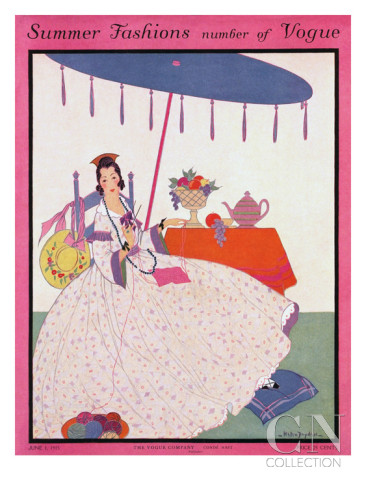
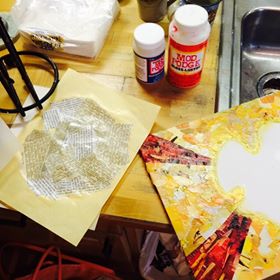
1. Find a pattern that interests you. It may be a simple photograph or possibly a child's coloring book. In teaching I have several patterns traced onto tracing paper, which are then glued first as the outline for painting. (A printed photograph on copy paper can be glued down as pattern. The colors will begin to "run" when you hit it with the glue, but it won't matter. You'll be covering with torn paper) The glued tracing paper will begin to create some texture. Keeping it very smooth is almost impossible. The waves and bumps will be tactile even in the end product.
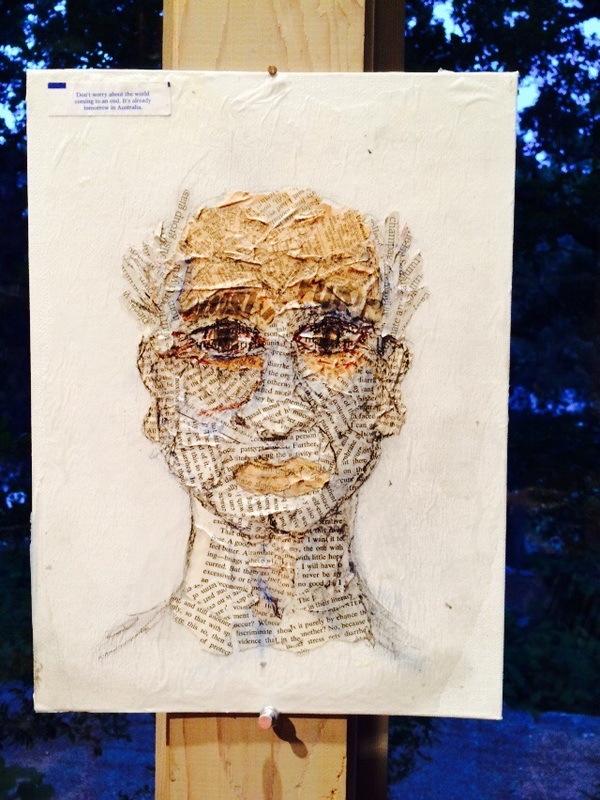
2. Keep an open mind for color scheme. Black and white are effective. Copy in magazines, books, newspapers, and publications can be obvious in statement or benign as general background. Keep in mind that the primary shape(s) will stand out if in contrast to the background. Also phrases and colors in abstract form are encouraged if a specific shape doesn't speak to you.

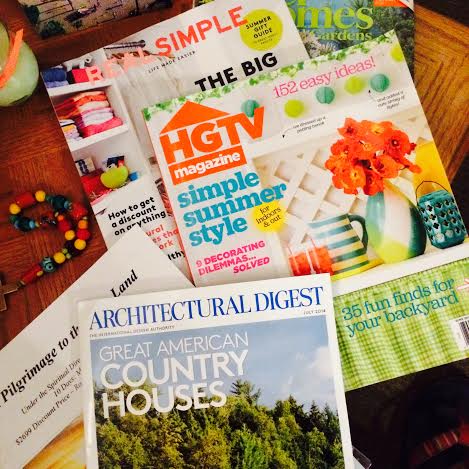
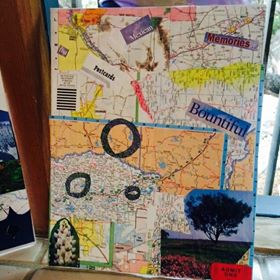
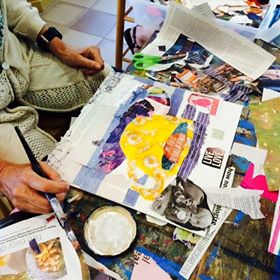
3. Pick a few magazines. Limit yourself so as to not get overwhelmed with possibilities. National Geographic is excellent (can usually purchase very cheap at a library), or Real Simple, HGTV, Newsweek, .... college alumni magazines.... For details use those magazines, travel brochures, stamps, envelopes, party napkins, maps, Kleenex boxes.... Recycling takes on a new meaning with this medium.

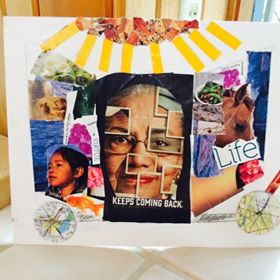
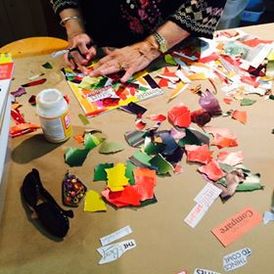
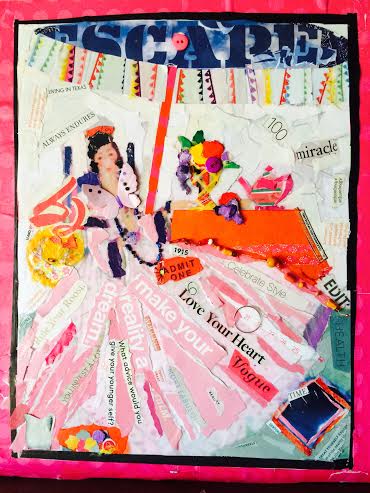
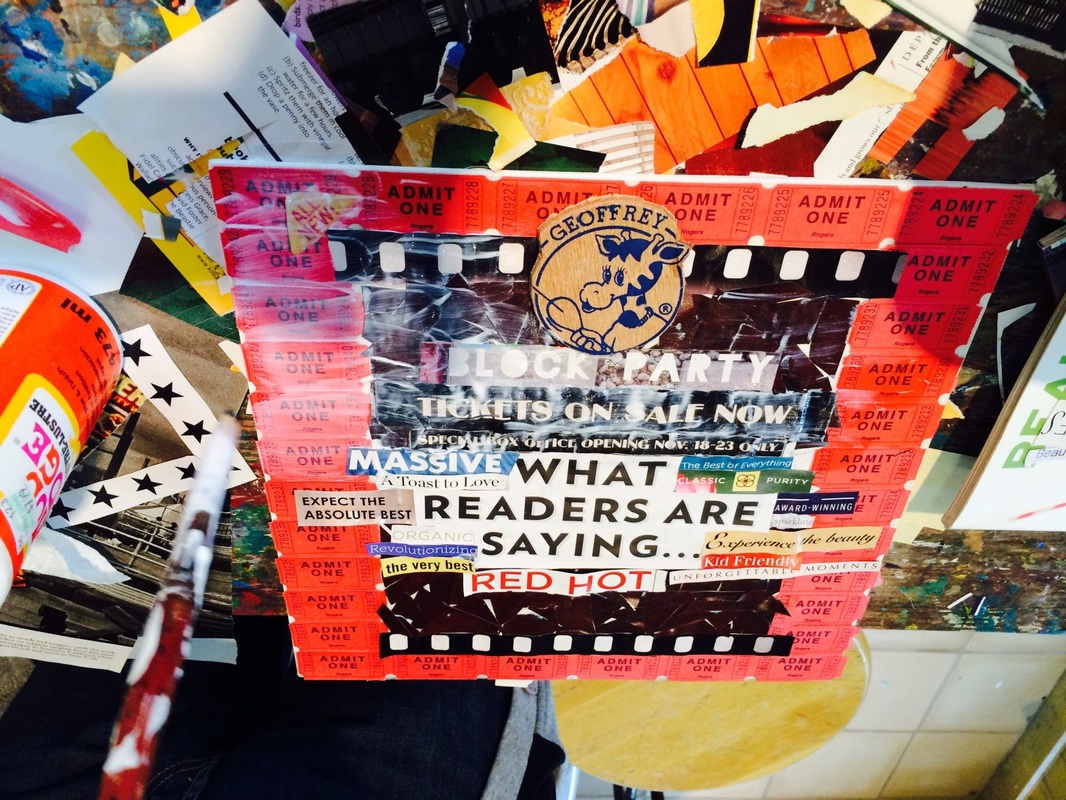
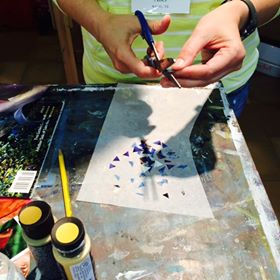
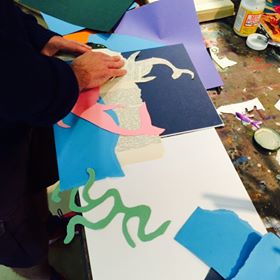
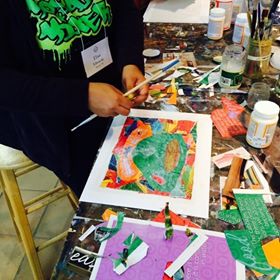
4. Begin tearing papers. Blends of similar colors work well for depth. Small pieces not larger than 1" x 1" are good. Colors with printed words add variation. If you desire a mosaic look, uniform pieces cut with a scissor works. Blends of similar color in mosaic will also create depth. Layers are good. Different thicknesses of materials create interest. Tentatively arrange your pieces, keeping in mind it is simpler to do the background before the primary shape, but make the process your own. Tack down with a dot of glue, those pieces that are strategic to your design. (Try to keep away from a draft that will make flying confetti of your work that is unattached!)
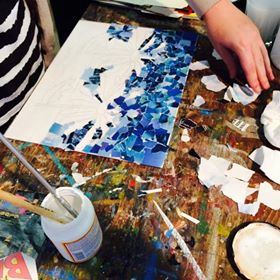
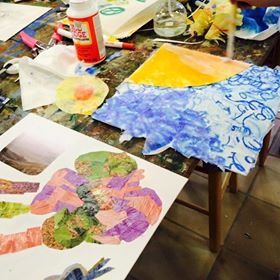
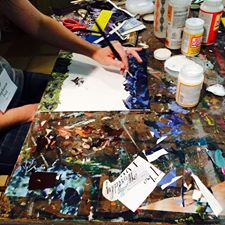
5. As your colors and shapes take form, begin gluing, putting glue on the canvas, laying a piece down, painting the glue over the top. It's messy and sloppy. A brush will begin to collect the glue so occasional washing is good.

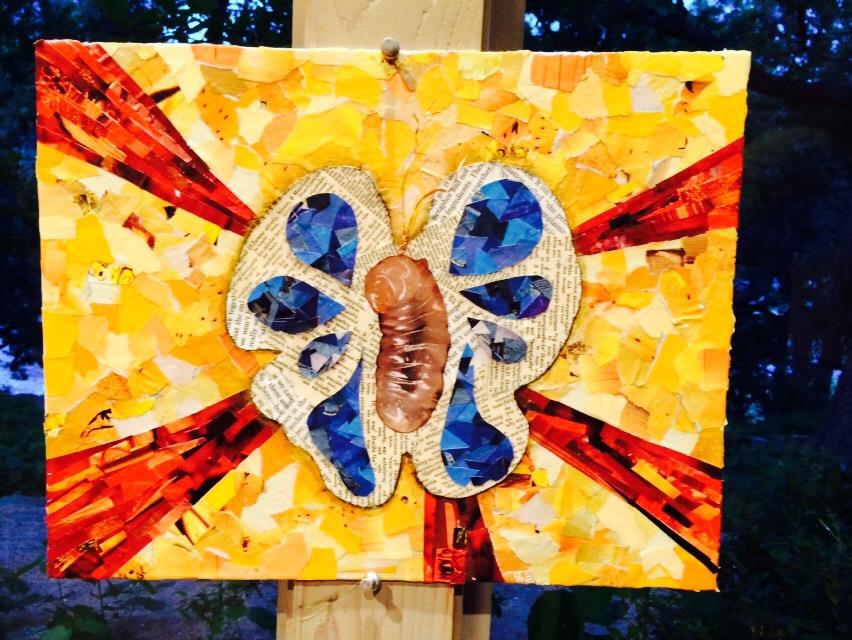
6. As the creation takes shape, pause and look at it from afar before embellishing. I often times take a photo to look at it from a different perspective. Give yourself space. If you're stuck, walk away from it for a bit, take a walk, sit in the sun, have a conversation. Then return to assess. Adding objects such as beads, bottlecaps, wire, glass bits, sand...let the painting speak to you. Put a thick coat of glue all over the piece and let it dry. Your finished painting will reveal itself to you.
7. After the painting is dry, perhaps in a day or two, sit down with it and journal your thoughts. Write about each part of the process or about the specific shape that is highlighted. Perhaps expand some phrase you used as a random part of the background. The journaling process is much like the gluing process: pulling all the pieces (thoughts) together to speak some meaning to your soul. Thank God for your expression and for his creative work in you.